
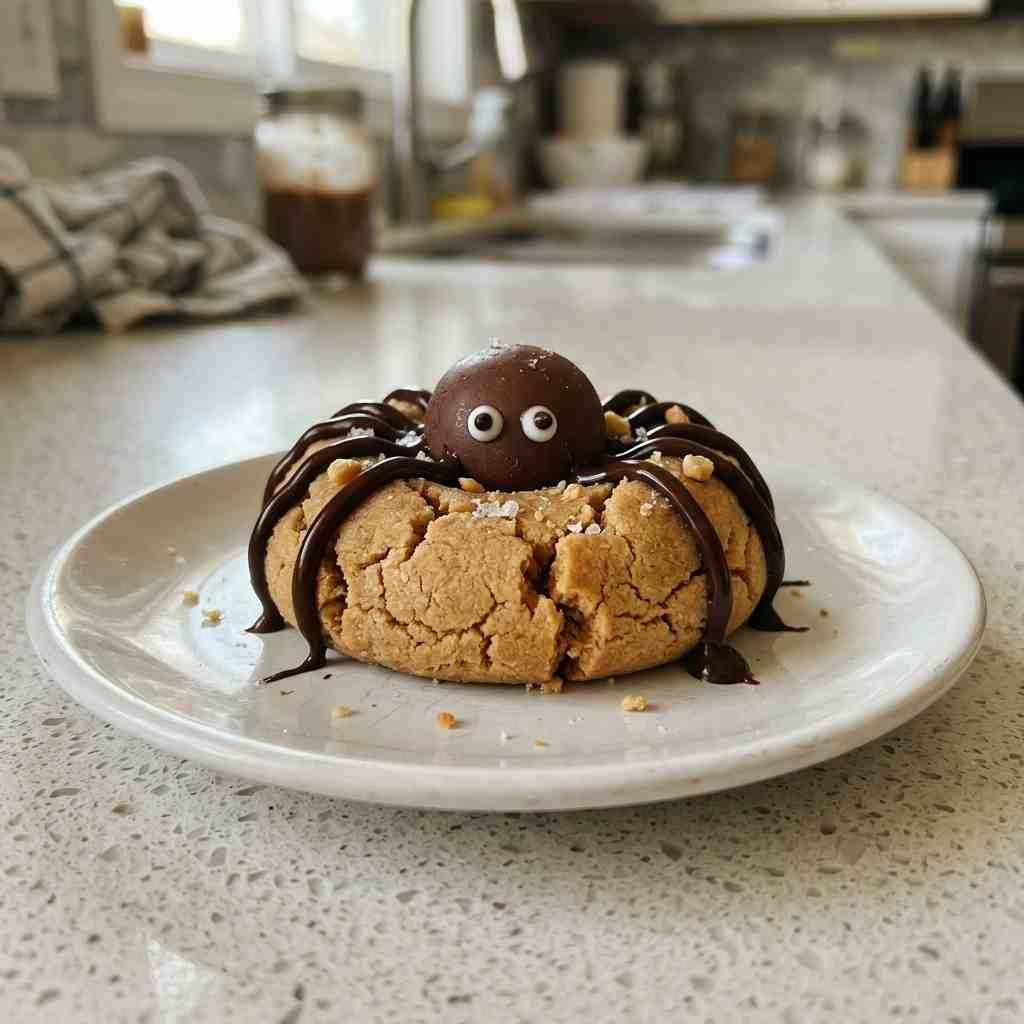
These adorable Peanut Butter Spider Cookies are the perfect spooky treat for your next Halloween party. Combining a rich, chewy peanut butter cookie base with a decadent chocolate center, these festive snacks are guaranteed to be a hit with both kids and adults alike.
Why You Will Love This Recipe
There is so much to love about these Peanut Butter Spider Cookies. First, they are incredibly easy to make, even for beginner bakers. Second, they offer the perfect balance of sweet and salty flavors that everyone craves in a dessert. Finally, their whimsical appearance makes them an eye-catching centerpiece for any holiday table, turning a simple cookie into a fun, themed masterpiece.
Ingredients
- 1/2 cup creamy peanut butter
- 1/2 cup unsalted butter, softened
- 1/2 cup granulated sugar
- 1/2 cup packed light brown sugar
- 1 large egg
- 1 teaspoon vanilla extract
- 1 1/2 cups all-purpose flour
- 1/2 teaspoon baking soda
- 1/4 teaspoon salt
- 24 chocolate truffle candies or peanut butter cups
- 48 candy eyes
- 1/4 cup semi-sweet chocolate chips (for the legs)
Step-by-Step Instructions
- Preheat your oven to 350 degrees F (175 degrees C) and line a baking sheet with parchment paper.
- In a large bowl, cream together the peanut butter, softened butter, granulated sugar, and brown sugar until smooth.
- Beat in the egg and vanilla extract until well combined.
- In a separate bowl, whisk together the flour, baking soda, and salt. Gradually add this to the wet ingredients, mixing until a soft dough forms.
- Roll the dough into 1-inch balls and place them on the prepared baking sheet.
- Bake for 10 to 12 minutes, or until the edges are lightly golden.
- Immediately after removing from the oven, gently press a chocolate truffle or peanut butter cup into the center of each warm cookie. Let them sit for a few minutes to soften slightly.
- Melt the chocolate chips in a microwave-safe bowl in 20-second intervals. Transfer the melted chocolate to a piping bag or small plastic bag with the corner snipped.
- Pipe four “legs” on each side of the chocolate center to resemble a spider.
- Use a tiny dab of melted chocolate to attach two candy eyes to the top of each chocolate center.
- Allow the cookies to cool completely before serving so the chocolate sets.
Expert Tips / Pro Tips
To ensure your Peanut Butter Spider Cookies look perfect, work quickly once the cookies come out of the oven. If the cookies cool too much, the chocolate won’t adhere properly when you press the candy center in. If you find the chocolate is too runny for the legs, let it sit at room temperature for a few minutes until it thickens to a pipeable consistency. For a cleaner look, use a toothpick to help guide the chocolate lines for the spider legs.
Variations & Substitutions
You can easily customize this recipe to suit your preferences. If you have a peanut allergy, feel free to substitute the peanut butter with creamy sunflower seed butter. For a different flavor profile, try using dark chocolate truffles instead of standard milk chocolate. If you cannot find candy eyes, you can use small dabs of white icing topped with a tiny dot of melted chocolate to create your own eyes.
Serving Suggestions
These cookies are best served on a platter lined with festive Halloween-themed napkins or artificial spider webs to enhance the spooky aesthetic. They pair beautifully with a glass of cold milk or a warm cup of apple cider, making them the ultimate comfort food treat for October gatherings.
Storage, Freezing & Reheating
Store your Peanut Butter Spider Cookies in an airtight container at room temperature for up to 5 days. If you need to keep them longer, you can freeze them for up to 3 months. To freeze, place them in a single layer on a baking sheet until solid, then transfer them to a freezer-safe bag. They do not need to be reheated; simply let them thaw at room temperature before serving.
Nutrition Information
| Serving Size | 1 cookie |
| Calories | 185 kcal |
| Total Fat | 10g |
| Sugar | 12g |
| Protein | 3g |
FAQ
Can I use crunchy peanut butter?
Yes, you can use crunchy peanut butter, though it will change the texture of the cookie slightly. The cookies will be a bit more rustic and have an extra crunch in every bite.
What should I do if the cookies spread too much?
If your cookies are spreading too much in the oven, try chilling the dough balls in the refrigerator for 30 minutes before baking. This helps the fats solidify and prevents excessive spreading.
Can I make the dough ahead of time?
Absolutely! You can prepare the dough, roll it into balls, and store them in the refrigerator for up to 2 days before baking. Just bring them to room temperature for 10 minutes before popping them in the oven.
Peanut Butter Spider Cookies
Ingredients
Method
- Preheat your oven to 350°F (175°C) and line a baking sheet with parchment paper.
- In a medium bowl, mix the peanut butter, sugar, and egg until smooth and well combined.
- Roll the dough into 1-inch balls and place them on the prepared baking sheet, spacing them 2 inches apart.
- Bake for 10-12 minutes until the edges are lightly golden. Remove from the oven and immediately press a small indentation into the center of each cookie using the back of a spoon.
- While the cookies are still warm, place a chocolate truffle or peanut butter cup into the center indentation of each cookie.
- Once the cookies have cooled completely, use the melted chocolate in a piping bag to draw 8 spider legs on the sides of the chocolate centers.
- Attach two candy eyes to the front of the chocolate center using a small dot of melted chocolate as glue.