
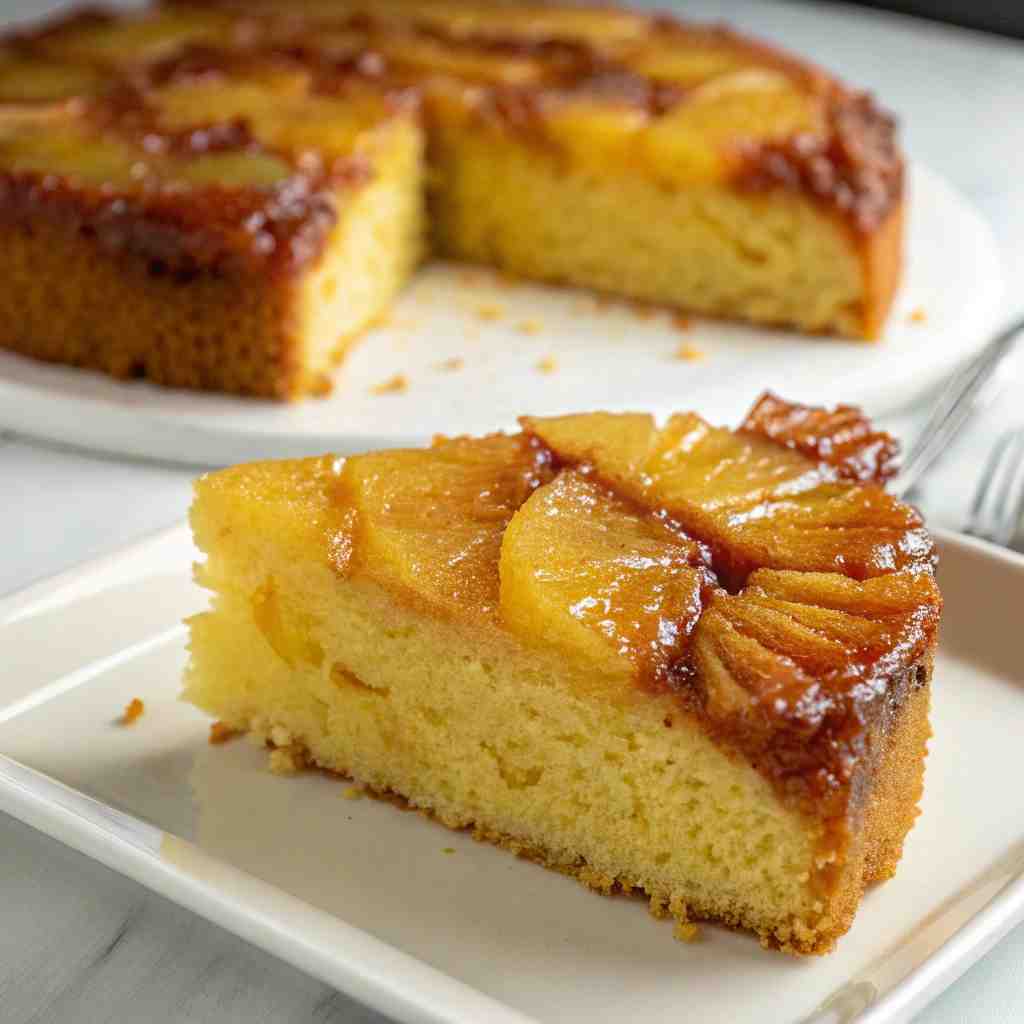
Unlock the magic of a timeless dessert with this incredibly Easy Pineapple Upside-Down Cake. It’s a quick, flavorful, and visually stunning treat that uses a simple boxed mix shortcut for a reliably perfect result every single time. This is the retro recipe I turn to when I need a guaranteed crowd-pleaser with minimal effort.
Table of Contents
Why You Will Love This Recipe
This cake is a direct link to my grandmother’s kitchen, where the scent of brown sugar and pineapple baking was a sure sign of a special occasion. She taught me that the best recipes are the ones that bring people joy without causing the cook stress. By using a boxed mix, this version honors that tradition of simplicity, ensuring that this beloved classic can be enjoyed by everyone, no matter their baking skill level.
Ingredients
- Nonstick cooking spray
- 1/2 cup (100g) packed dark brown sugar
- 5 tablespoons unsalted butter, melted
- 1 (20-ounce) can pineapple slices in juice, drained, with 1/2 cup juice reserved
- 7 maraschino cherries
- 1 (15.25-ounce) package yellow cake mix
- 2 large eggs
- 1/2 cup vegetable or canola oil
- 1/2 cup water
Step-by-step instructions for making the recipe
- Preheat your oven to 350°F. Lightly grease a 9-inch round cake pan that is at least 2 inches tall with nonstick cooking spray.
- Make the topping: In a small bowl, whisk together the dark brown sugar and melted butter until smooth. Spread this mixture evenly over the bottom of the prepared cake pan.
- Arrange a single layer of the drained pineapple slices on top of the brown sugar mixture, cutting smaller pieces if necessary to fill any gaps. Place one maraschino cherry in the center of each pineapple ring.
- Make the cake batter: In a large mixing bowl, combine the yellow cake mix, eggs, oil, water, and the reserved 1/2 cup of pineapple juice. Beat with an electric mixer or by hand until the batter is smooth and well-combined.
- Carefully pour the cake batter over the pineapple slices and cherries in the pan, spreading it into an even layer.
- Bake the cake for 45 to 55 minutes, or until the top is golden brown and a toothpick inserted into the center comes out clean.
- Cool the cake in the pan on a wire rack for exactly 10 minutes. Then, run a butter knife or offset spatula around the edges of the pan to loosen the cake.
- Place a serving plate upside-down over the cake pan and, using oven mitts, quickly and confidently flip the pan and plate over. Gently lift the pan away. Let the cake cool completely on the plate before slicing and serving.

Easy Pineapple Upside-Down Cake
Ingredients
Equipment
Method
- Preheat your oven to 350°F. Lightly grease a 9-inch round cake pan that is at least 2 inches tall with nonstick cooking spray.Nonstick cooking spray
- Make the topping: In a small bowl, whisk together the dark brown sugar and melted butter until smooth. Spread this mixture evenly over the bottom of the prepared cake pan.1/2 cup packed dark brown sugar, 5 tablespoons unsalted butter
- Arrange a single layer of the drained pineapple slices on top of the brown sugar mixture, cutting smaller pieces if necessary to fill any gaps. Place one maraschino cherry in the center of each pineapple ring.1 can pineapple slices in juice, 7 maraschino cherries
- Make the cake batter: In a large mixing bowl, combine the yellow cake mix, eggs, oil, water, and the reserved 1/2 cup of pineapple juice. Beat with an electric mixer or by hand until the batter is smooth and well-combined.1 package yellow cake mix, 2 large eggs, 1/2 cup vegetable or canola oil, 1/2 cup water
- Carefully pour the cake batter over the pineapple slices and cherries in the pan, spreading it into an even layer.
- Bake the cake for 45 to 55 minutes, or until the top is golden brown and a toothpick inserted into the center comes out clean.
- Cool the cake in the pan on a wire rack for exactly 10 minutes. Then, run a butter knife or offset spatula around the edges of the pan to loosen the cake.
- Place a serving plate upside-down over the cake pan and, using oven mitts, quickly and confidently flip the pan and plate over. Gently lift the pan away. Let the cake cool completely on the plate before slicing and serving.
Notes
FAQ
What if my topping sticks to the pan?
The 10-minute cooling window is crucial. If it cools too long, the caramelized topping will solidify and stick. If this happens, place the bottom of the pan over low heat on the stove for a minute to gently re-melt the sugar before trying to invert it again.
Can I use fresh pineapple instead of canned?
Yes, you can. Use similarly sized rings, but note that fresh pineapple can be slightly less sweet and more fibrous. You will also need to provide the 1/2 cup of juice from another source, like store-bought pineapple juice.
How should I store leftovers?
Store the cake, covered, at room temperature for up to 2 days or in the refrigerator for up to 4 days. The topping may become stickier in the fridge.