
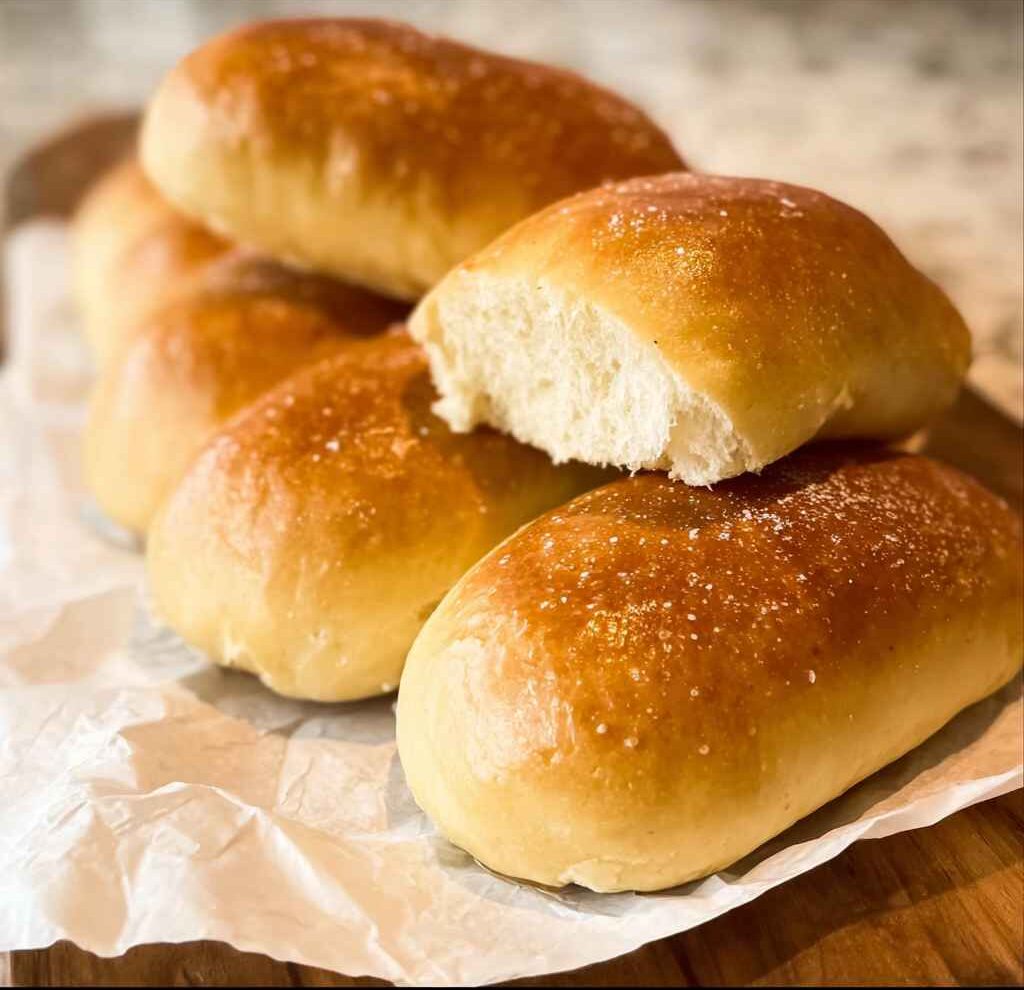
These Homemade Fluffy Hot Dog Buns are the ultimate upgrade for your next cookout, offering a pillowy texture that puts store-bought versions to shame. This versatile dough is incredibly easy to work with and produces perfectly soft rolls that hold up to even the heaviest chili or lobster toppings.
Table of Contents
Why You Will Love This Recipe
There is nothing quite like the smell of fresh bread baking in your kitchen, and these Homemade Fluffy Hot Dog Buns are a game-changer for several reasons. First, they are significantly better than supermarket options, which are often too dense, full of preservatives, or so flimsy they dissolve the moment you add a sausage.
This recipe uses a versatile dough that can be easily adapted to make sub rolls or hamburger buns. By using an overnight proofing method, you develop a deeper flavor and a professional texture that is both soft and sturdy. Plus, because you are making them from scratch, you have total control over the ingredients, ensuring there are no artificial chemicals or strange additives in your bread.
Ingredients
- 500 g all purpose flour (approximately 4 US cups, measured by spoon and level method)
- 120 mL warm milk (1/2 cup)
- 180 mL warm water (3/4 cup)
- 7 g dry active yeast (2 tsp)
- 1 tsp fine sea salt
- 1 tbsp sugar
- 1 large egg (for the dough)
- 28 g softened butter or oil (2 tbsp)
- Extra oil (to lightly oil the mixing bowl)
- 1 egg (for the egg wash)
Step-by-Step Instructions
- Mix the Dry Ingredients: In the bowl of a stand mixer, combine the all-purpose flour, dry active yeast, sugar, and salt.
- Combine the Wet Ingredients: In a separate small bowl, whisk together the warm water, warm milk, and one large egg.
- Form the Dough: Using the paddle attachment or a dough whisk, add the wet mixture to the dry ingredients. Mix until a shaggy, sticky dough forms.
- Initial Kneading: Switch to the dough hook. Knead the dough for about 5 minutes. The dough should be fairly wet and sticky at this stage.
- Add Fat and Finish Kneading: Add the softened butter or oil. Continue kneading for another 5 to 10 minutes. The dough is ready when it is shiny, smooth, and tacky to the touch rather than sticking to your fingers.
- First Proof (Overnight): Place the dough in a lightly oiled bowl. Cover tightly with plastic wrap and store in the refrigerator for at least 8 hours (up to 24 hours). This “retarding” process develops flavor and makes the dough easier to handle.
- Shape the Buns: Turn the chilled dough onto a lightly floured surface. You can use the cutting method by rolling the dough into a 16×5 inch rectangle and cutting it into 10-12 sections. Alternatively, use the shaping method by dividing the dough into 12 equal portions, rolling each into a 5×4 inch rectangle, and tightly rolling them into cylinders.
- Second Proof: Place the shaped rolls on a parchment-lined baking tray. Cover with plastic wrap and let them rise in a warm place for about 45 minutes, or until they have doubled in size.
- Bake: Preheat your oven to 180°C (350°F). Gently brush the tops of the buns with a beaten egg wash. Bake for 15 to 20 minutes until the tops are golden brown and the buns sound hollow when tapped.
- Cool: Remove from the oven and allow them to cool on a wire rack to prevent the bottoms from becoming soggy.
Expert Tips / Pro Tips
Measure by weight: For the most consistent results, use a kitchen scale. Flour is very easy to over-pack in a measuring cup, which can lead to dry, dense buns.
Don’t skip the chill: Letting the dough rise in the fridge (retarding the dough) slows down the yeast metabolism, allowing bacteria and enzymes to create a much more complex, beer-like flavor. It also makes the sticky dough much easier to shape.
Check your yeast: If you aren’t sure if your yeast is fresh, bloom it first. Mix it with the warm milk and a pinch of sugar and let it sit for 15 minutes. If it doesn’t foam, the yeast is dead and should be replaced.
The “Windowpane” Test: Your dough is properly kneaded when you can stretch a small piece of it thin enough to see light through it without it tearing immediately.
Variations & Substitutions
Flour Types: You can use bread flour for a chewier texture, though you may need to add a splash more milk. For a healthier twist, you can replace up to 50% of the all-purpose flour with whole wheat flour.
Vegan Option: To make these vegan, replace the milk with almond or soy milk, use vegetable oil instead of butter, and replace the egg in the dough with 3-4 tablespoons of extra liquid or a flax egg. For the egg wash, use a little maple syrup mixed with plant milk.
New England Style: To make New England style buns (perfect for lobster rolls), place the dough cylinders very close together on the baking sheet so they grow into each other. After baking, you can pull them apart to reveal soft, white sides.
Serving Suggestions
These Homemade Fluffy Hot Dog Buns are perfect for classic grilled franks, but their sturdy structure makes them ideal for much more. Try using them for:
- Maine Lobster Rolls with plenty of butter.
- Chili Cheese Dogs with thick, homemade chili.
- Mini sub sandwiches or meatball hoagies.
- Breakfast sausages with scrambled eggs and cheese.
Storage, Freezing & Reheating
Storage: Once completely cooled, store the buns in an airtight container at room temperature for up to 2 days or in the fridge for up to a week.
Freezing (Best Method): Bake the buns fully and let them cool. Store them in a freezer-safe bag for up to 3 months. Thaw at room temperature and toast lightly before serving.
Par-Baking: You can also bake the buns for only 10-15 minutes (until they are set but not browned), then freeze them. When ready to eat, bake the frozen buns at 350°F for 10-15 minutes until golden.
Reheating: To restore that “just-baked” fluffiness, wrap a bun in a damp paper towel and microwave for 10-15 seconds, or split and toast them face-down in a pan with a little butter.
Nutrition Information
| Nutrient | Amount Per Serving |
| Calories | 185 kcal |
| Carbohydrates | 33 g |
| Protein | 5 g |
| Fat | 3 g |
| Saturated Fat | 1 g |
| Cholesterol | 19 mg |
| Sodium | 318 mg |
| Fiber | 1 g |
| Sugar | 1 g |
Note: Nutrition information is approximate and based on 12 servings.
FAQ
Why do you not activate the yeast in the water first?
If you are using fresh active dry yeast or instant yeast, you can mix it directly with the dry ingredients. However, if you are unsure of the yeast’s potency, it is always safer to activate it in warm milk and sugar for 15 minutes before adding it to the flour.
Can I use instant yeast instead of active dry yeast?
Yes, you can use instant yeast in the same quantity. The main difference is that instant yeast usually results in a slightly faster rise time, so keep an eye on your dough during the proofing stages.
My hot dog buns are very dense. What went wrong?
Density is usually caused by adding too much flour. If you measured by volume (cups) instead of weight (grams), you likely added too much. It could also mean the dough did not proof long enough during the second rise.
Can I make these without a stand mixer?
You can definitely knead this dough by hand, but because it is a wet and sticky dough, it will take significant effort and about 15-20 minutes of vigorous kneading to reach the proper consistency.
Homemade Fluffy Hot Dog Buns
Ingredients
Equipment
Method
- In the bowl of a stand mixer, combine the all-purpose flour, dry active yeast, sugar, and salt.500 g all purpose flour, 7 g dry active yeast, 1 tbsp sugar, 1 tsp fine sea salt
- In a separate small bowl, whisk together the warm water, warm milk, and one large egg.180 mL warm water, 120 mL warm milk, 1 large egg
- Using the paddle attachment or a dough whisk, add the wet mixture to the dry ingredients. Mix until a shaggy, sticky dough forms.
- Switch to the dough hook. Knead the dough for about 5 minutes. The dough should be fairly wet and sticky at this stage.
- Add the softened butter or oil. Continue kneading for another 5 to 10 minutes until the dough is shiny, smooth, and tacky to the touch.28 g softened butter or oil
- Place the dough in a lightly oiled bowl, cover tightly, and refrigerate for at least 8 hours (up to 24 hours).Extra oil
- Turn the chilled dough onto a lightly floured surface and shape into 10-12 cylinders using either a rolling or cutting method.
- Place the shaped rolls on a parchment-lined baking tray, cover, and let rise in a warm place for about 45 minutes until doubled.
- Preheat your oven to 180°C (350°F). Brush the buns with egg wash and bake for 15 to 20 minutes until golden brown.1 egg
- Remove from the oven and allow them to cool on a wire rack to prevent the bottoms from becoming soggy.