
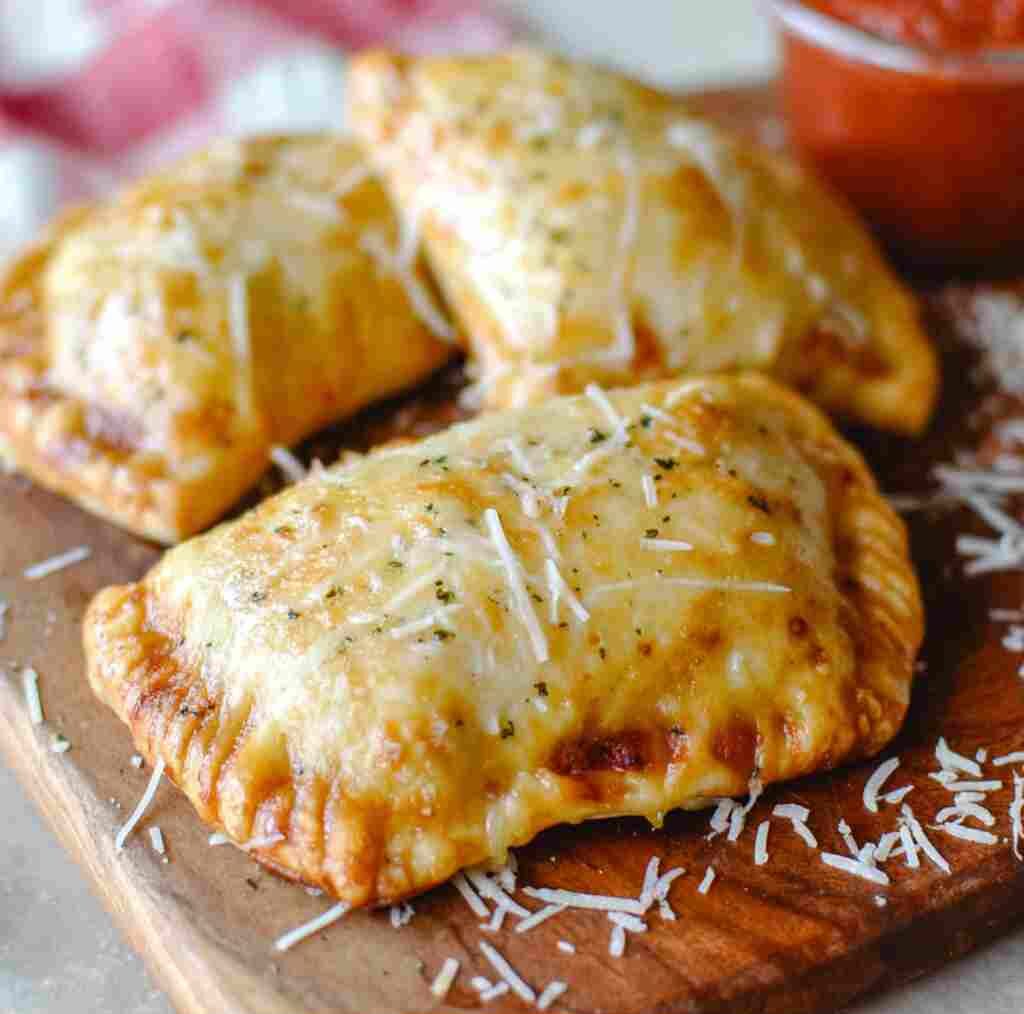
These Homemade Cheesy Pizza Pockets are a delicious, customizable alternative to store-bought frozen snacks that your whole family will love. Ready in just 20 minutes of bake time, they are perfect for busy weeknights, kid-friendly lunches, or even meal prep for the freezer.
Table of Contents
Why You Will Love This Recipe
There are so many reasons to keep this recipe in your weekly rotation. First, it is incredibly kid-friendly; even the pickiest eaters love a handheld pizza. Second, these pockets are fully customizable, allowing you to swap out traditional marinara for pesto or add any combination of meats and veggies. Finally, they are freezer-friendly, meaning you can make a large batch ahead of time and have a quick, homemade meal ready to heat and serve whenever you are in a rush.
Ingredients
- 16 oz ball of fresh pizza dough (homemade or store-bought)
- 1 cup pizza sauce or marinara sauce
- 2 cups shredded mozzarella cheese
- 1 egg yolk (mixed with 1 tablespoon of water for the egg wash)
- All-purpose flour (for dusting your work surface)
- Salt and pepper to taste
Step-by-Step Instructions
- Preheat your oven to 425 degrees F and line a large baking sheet with parchment paper to prevent sticking.
- Place your pizza dough on a lightly floured surface. Using a rolling pin, roll the dough out into a large rectangle that is approximately 1/4 inch thick.
- Using a sharp knife or a pizza cutter, slice the dough into 8 evenly sized rectangles.
- Take each individual rectangle and roll it out again until it is about 8 inches long. Place these onto your prepared baking sheet.
- Using a spoon, spread 1 tablespoon of pizza sauce onto one half of each rectangle, leaving a small border around the edges.
- Top the sauce with 2 tablespoons of shredded mozzarella cheese and any other desired fillings.
- Fold the empty half of the dough rectangle over the stuffed half. Use the tines of a fork to press the edges together and seal the pocket tightly.
- In a small bowl, whisk the egg yolk with 1 tablespoon of water. Brush the top of each pizza pocket with the egg wash for a golden-brown finish.
- Bake for 12 to 17 minutes, or until the crust is golden brown and the cheese is bubbly.
- Let the pizza pockets rest for 3 to 5 minutes before serving, as the filling will be very hot.
Expert Tips / Pro Tips
To ensure the best results, do not overfill your pizza pockets. While it is tempting to pile on the cheese, too much filling can cause the seams to burst during the baking process. If you are using watery vegetables like mushrooms or peppers, sauté them briefly beforehand to remove excess moisture. Additionally, always make sure your oven is fully preheated to 425 degrees F before sliding the tray in; this high heat is what creates that perfect, crisp pizza crust texture.
Variations & Substitutions
The beauty of Homemade Cheesy Pizza Pockets is how easily they can be adapted to your preferences.
Meat Lovers: Add 2-3 slices of pepperoni or a sprinkle of cooked Italian sausage to the cheese layer.
Veggie Lovers: Use finely chopped onions, green peppers, and mushrooms for a garden-style pocket.
Mediterranean Style: Replace the pizza sauce with sun-dried tomato pesto and add cooked spinach and chopped olives.
Hawaiian: Add a small slice of cooked ham and a tablespoon of fresh pineapple chunks for a sweet and savory twist.
Serving Suggestions
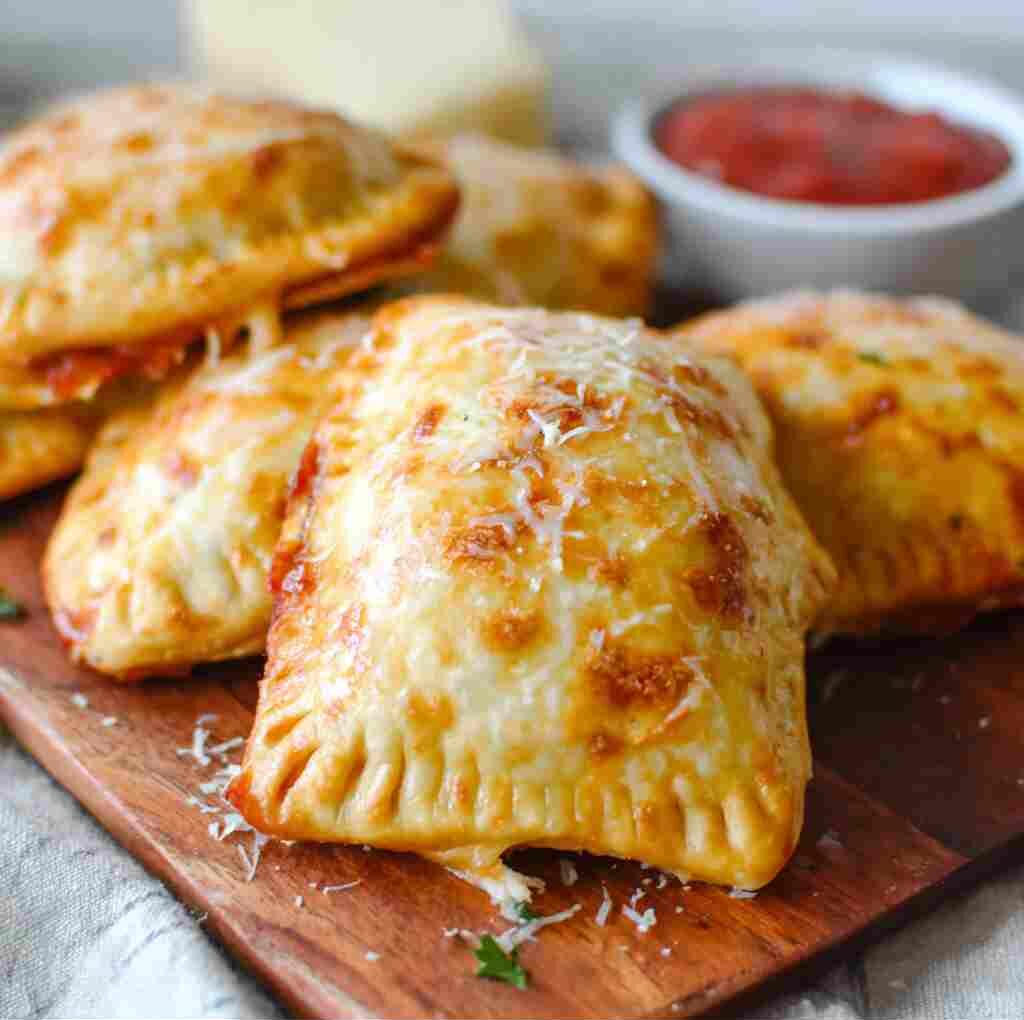
Serve these pizza pockets warm with a side of extra marinara sauce or creamy garlic dip. If you want to turn this into a full meal, pair them with a fresh Caesar salad or a side of roasted vegetables. For a fun party appetizer, you can cut the rectangles smaller to create “mini” pizza bites that are perfect for dipping.
Storage, Freezing & Reheating
Storage: Keep leftover pizza pockets in an airtight container in the refrigerator for up to 3 days.
Freezing: These are excellent for the freezer. Wrap each individual, cooled pizza pocket in tin foil and place them in a freezer-safe Ziploc bag. They will stay fresh for up to 3 months.
Reheating: To reheat from the fridge, place them in a 350-degree F oven for 5-10 minutes or microwave for 1 minute. To reheat from frozen, remove the foil and microwave for about 3 minutes, or bake at 350 degrees F for approximately 20 minutes until heated through.
Nutrition Information
| Nutrient | Value (Per Serving) |
|---|---|
| Calories | 285 kcal |
| Total Fat | 12g |
| Saturated Fat | 6g |
| Cholesterol | 45mg |
| Sodium | 650mg |
| Total Carbohydrates | 32g |
| Protein | 14g |
Homemade Cheesy Pizza Pockets
Ingredients
Equipment
Method
- Preheat your oven to 425 degrees F and line a large baking sheet with parchment paper to prevent sticking.
- Place your pizza dough on a lightly floured surface. Using a rolling pin, roll the dough out into a large rectangle that is approximately 1/4 inch thick.16 oz fresh pizza dough, All-purpose flour
- Using a sharp knife or a pizza cutter, slice the dough into 8 evenly sized rectangles.
- Take each individual rectangle and roll it out again until it is about 8 inches long. Place these onto your prepared baking sheet.
- Using a spoon, spread 1 tablespoon of pizza sauce onto one half of each rectangle, leaving a small border around the edges.1 cup pizza sauce
- Top the sauce with 2 tablespoons of shredded mozzarella cheese and any other desired fillings.2 cups shredded mozzarella cheese
- Fold the empty half of the dough rectangle over the stuffed half. Use the tines of a fork to press the edges together and seal the pocket tightly.
- In a small bowl, whisk the egg yolk with 1 tablespoon of water. Brush the top of each pizza pocket with the egg wash for a golden-brown finish.1 egg yolk
- Bake for 12 to 17 minutes, or until the crust is golden brown and the cheese is bubbly.
- Let the pizza pockets rest for 3 to 5 minutes before serving, as the filling will be very hot.
Notes
FAQ
Can you prep these pizza pockets in advance?
Yes! You can assemble them and keep them in the refrigerator for up to 3 days before baking. However, for the best texture, it is recommended to bake them fresh right before you plan to eat.
Do I have to use homemade pizza crust?
Not at all. While homemade dough offers a great flavor, store-bought refrigerated pizza dough works perfectly and saves a lot of time. Just ensure the dough is not pre-baked.
Can I double or triple this recipe?
Absolutely. This recipe is very easy to scale up. Making a double or triple batch is a great idea if you want to stock your freezer with easy grab-and-go meals.
Do I have to use the egg wash?
The egg wash is optional, but it is highly recommended. It gives the crust a beautiful shiny, golden-brown color. If you skip it, the crust will look more matte and pale, though it will still taste delicious.
How do I prevent the filling from leaking out?
The key is to leave a small border around the edges when adding your sauce and cheese. Use a fork to firmly crimp the edges together. If the dough is too dry to stick, you can lightly dampen the edges with a drop of water before sealing.